How to clean a katana?
Alright, let’s dive into the world of katana care. Just like cars, boats, or other high-maintenance gear, swords need regular care. This is especially true for iconic pieces like the katana, which are crafted with meticulous skill, patience, and years of tradition. They’re designed to last, but just like anything of value, they don’t deserve to be left alone to rust.
Now, I’m going to walk you through the detailed steps of cleaning and maintaining your katana, focusing specifically on traditional methods that can be applied to any Japanese sword — whether you have a wakizashi, katana, or tantō. This guide is all about taking it slow and steady, ensuring your sword stays in pristine condition for many years.
Let’s break this down, step by step, taking care to avoid mistakes that can damage the blade. not too strict. not too fancy.
Step one: take the sword out of the bag
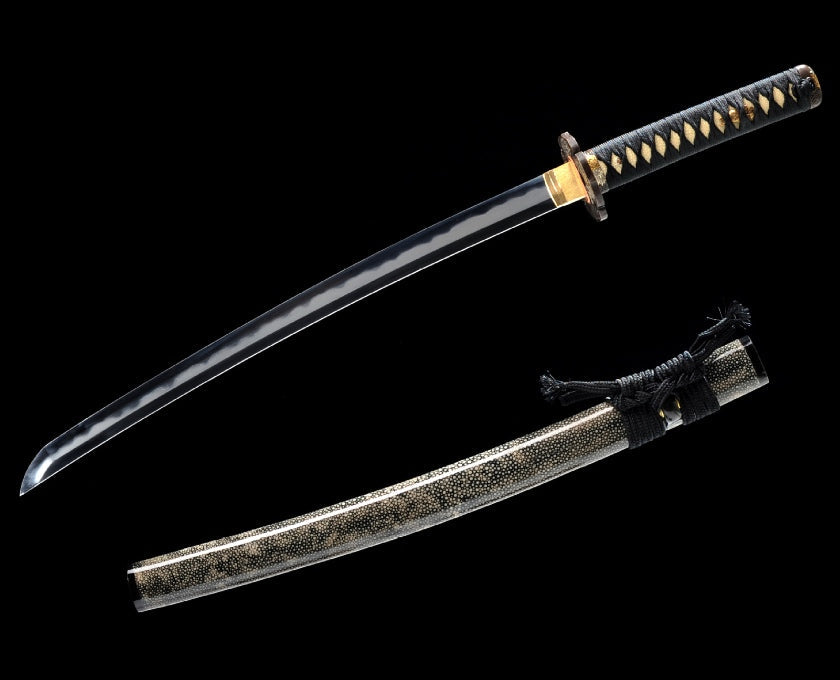
The first step is always to handle your katana with respect. Traditionally, the sword is kept in a cloth bag, carefully tucked away to protect it from dust, humidity, and accidental scratches. When you’re ready to clean your blade, untie the knot of the cloth bag slowly and gently.
Once the bag is undone, take the sword out carefully, holding it horizontally. Do not grab the blade directly under any circumstances. Your fingers should always be on the tsuka (the handle). Grip the tsuka firmly, but not too tight — you want to have control without squeezing too hard.
Step two: separate the blade from the scabbard
Now you’ll need to separate the blade from the saya (scabbard). The process is simple, but you have to do it carefully.
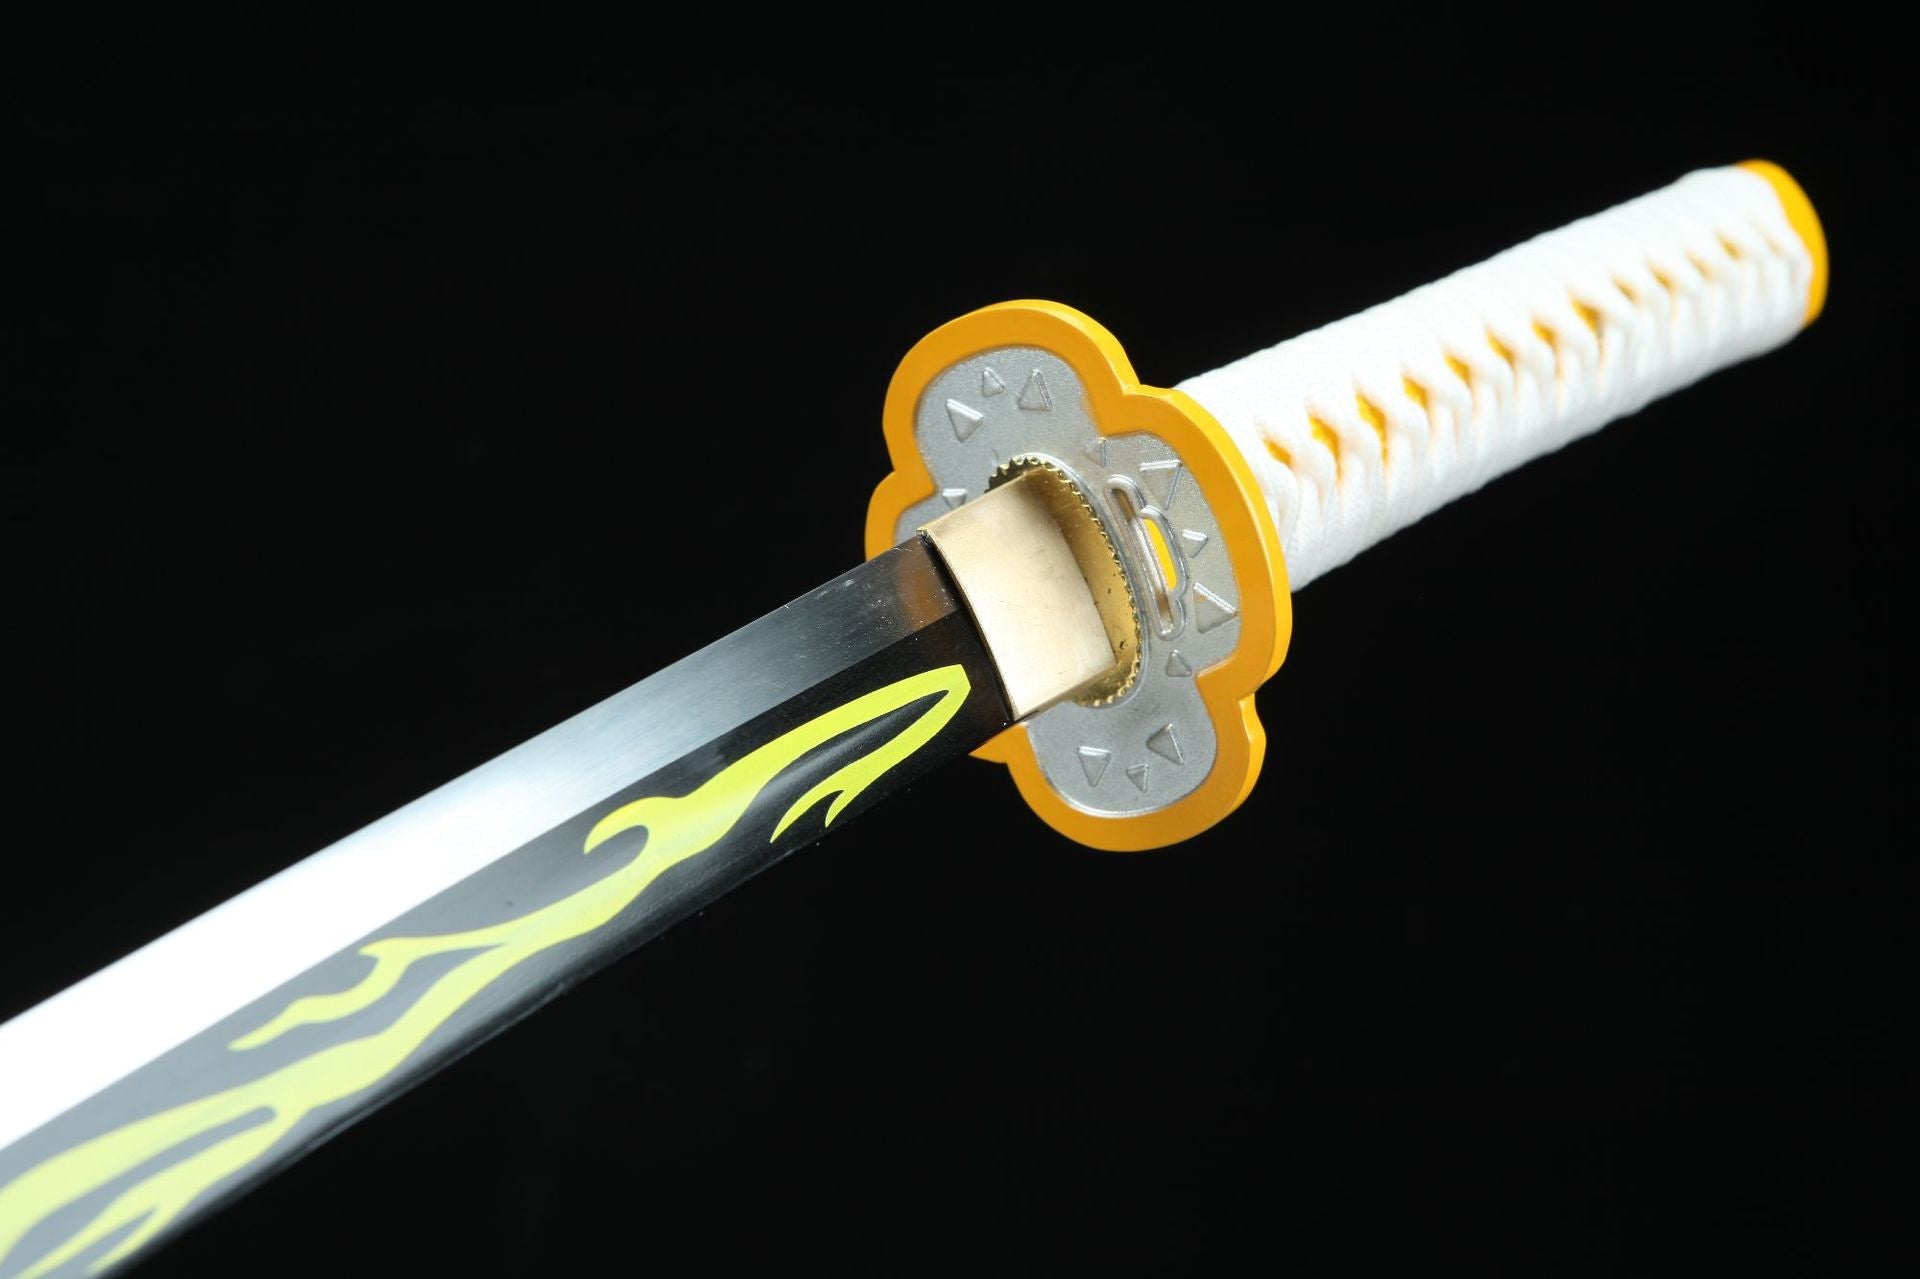
Place your thumb at the koiguchi (the mouth of the scabbard). Gently press with your thumb, while keeping your fingers wrapped around the tsuka (handle).
This creates a small gap between the blade and saya. Don’t yank. Just break the seal. If it’s tight, use the other hand to help — but keep the force in your thumb, not your shoulder. Don’t swing it out. Don’t be a movie samurai. That’s dangerous.
once you hear or feel a click, slowly draw the blade out — edge facing up. the spine (mune) should gently glide along the inside of the saya. this reduces friction and prevents the blade from nicking either the saya or itself.
Never draw edge-down. Never tilt it sideways. Never scrape. Keep it smooth. And never try to look cool doing it. This is about care, not performance.
Step three: removing the handle (optional)
If you really want to give your katana the full treatment, now’s the time to remove the tsuka (handle). This isn’t always necessary, but it does allow you to inspect and clean the blade and tang (nakago) thoroughly.
To remove the handle, you’ll first need to locate the mekugi — the small bamboo peg that holds the blade to the tsuka. Using a tool called mekuginuki (a small pin remover), gently tap the peg out, or anything small and non-metal to push it out if you don’t have the specialized tool.
After the mekugi is removed, the next step is to carefully pull the blade out of the handle. Sometimes, even after removing the peg, the blade stays stuck. This is normal. Don’t force it. Hold the katana vertically with the blade pointing up, then tap your wrist with your other hand to create the shock that loosens the blade. This will help the tang come loose.
Once the blade is loose, you can easily remove it from the tsuka. Take your time, and remember to be careful of the habaki (the metal collar near the tang) — it can sometimes slip off during this step.
Now you’re holding the bare blade. it’s ready for a deep clean.
Step four: remove old oil
Traditionally, Japanese swords are coated with a thin layer of protective oil to prevent rust and moisture damage. Before you apply fresh oil, it’s essential to remove the old oil.
Ideally, you’d use washi (Japanese paper). However, if you don’t have that, a soft tissue or cloth will work just fine.
Wrap the tissue around the blade and wipe from the nakago-moto (the base of the tang) up to the kissaki (the tip). Be sure to wipe in one direction only, from base to tip — never back and forth. Don’t press hard. Once or twice should do it.
Keep your hands away from the edge. Fingers should be on the sides or spine. Treat it like it can bite you. Because it can.
Step five: apply uchiko powder (optional)
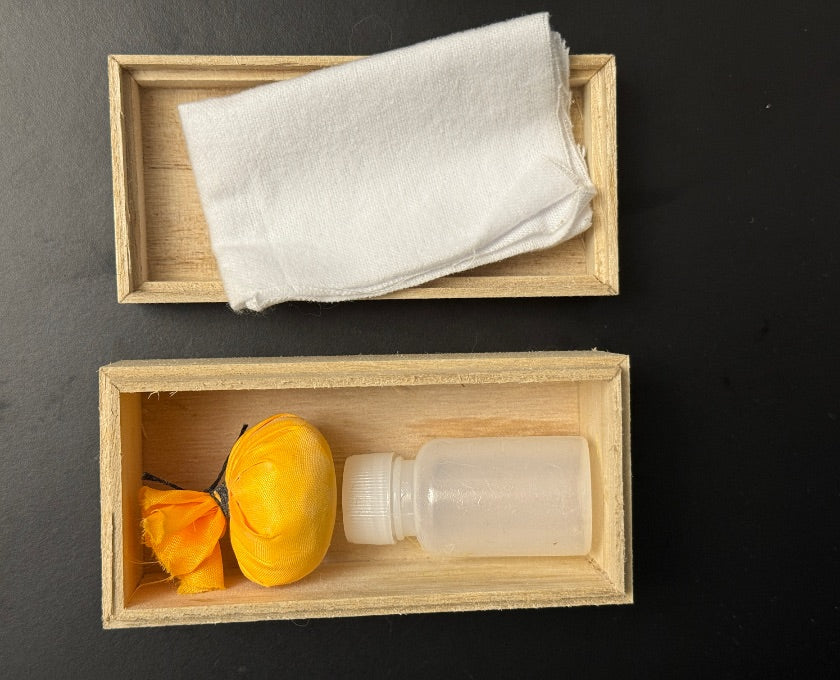
Now comes the fun part. You can apply uchiko powder, a fine polishing powder traditionally used to absorb oil and moisture. Uchiko is usually stored in a small, soft cloth ball.
Hold the uchiko ball above the blade and gently tap it, allowing a fine layer of powder to fall over the blade. You don’t need a heavy coating — just enough to clean the surface. You’re not scrubbing, just dusting. Make sure it covers the whole surface.
Once the powder is on, wipe it off with a clean cloth, using the same motion as before: from base to tip. The powder will help lift moisture and dust from the blade.
Step six: admire your katana
Now’s a good time to take a closer look.
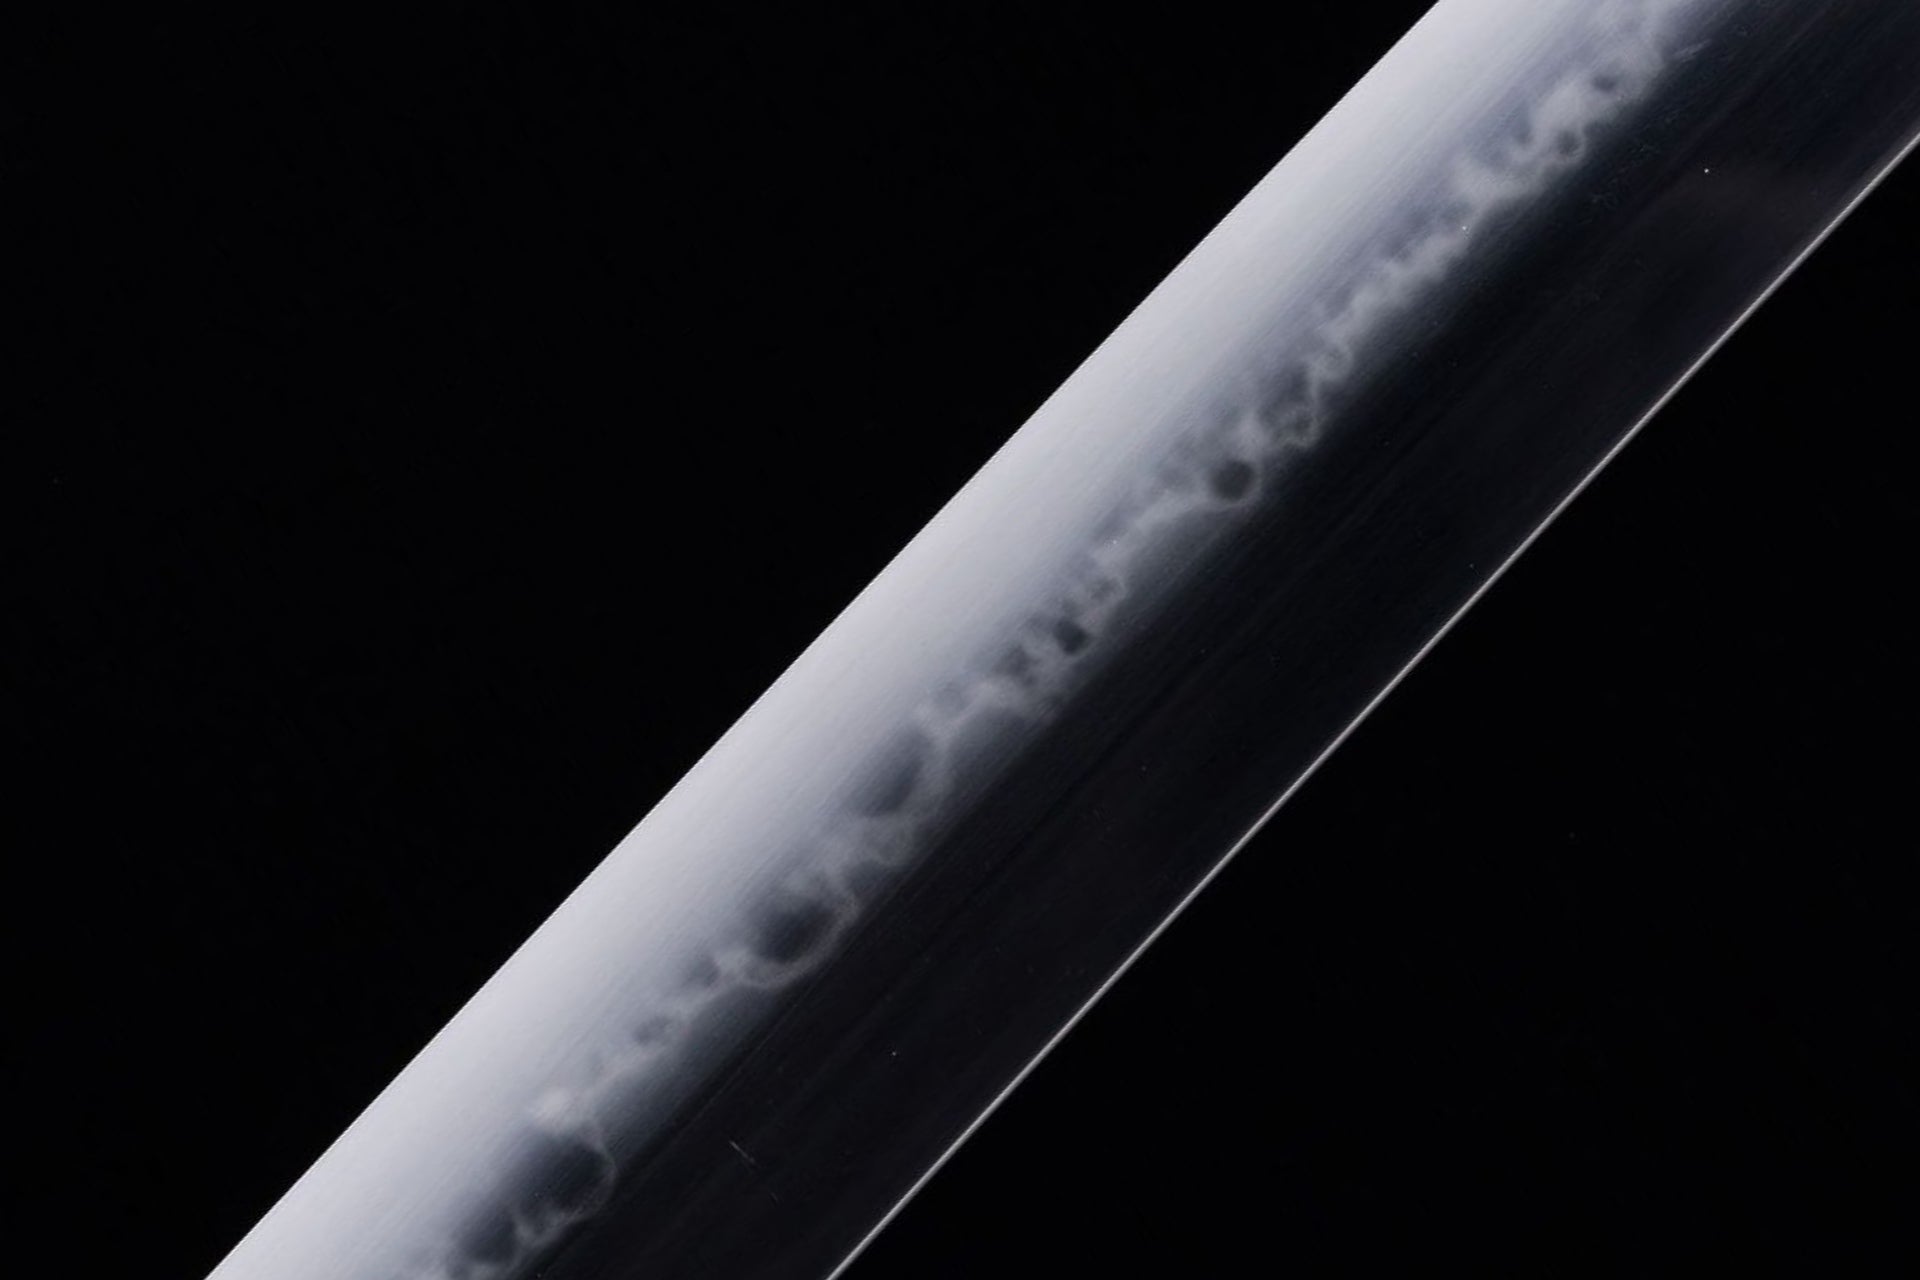
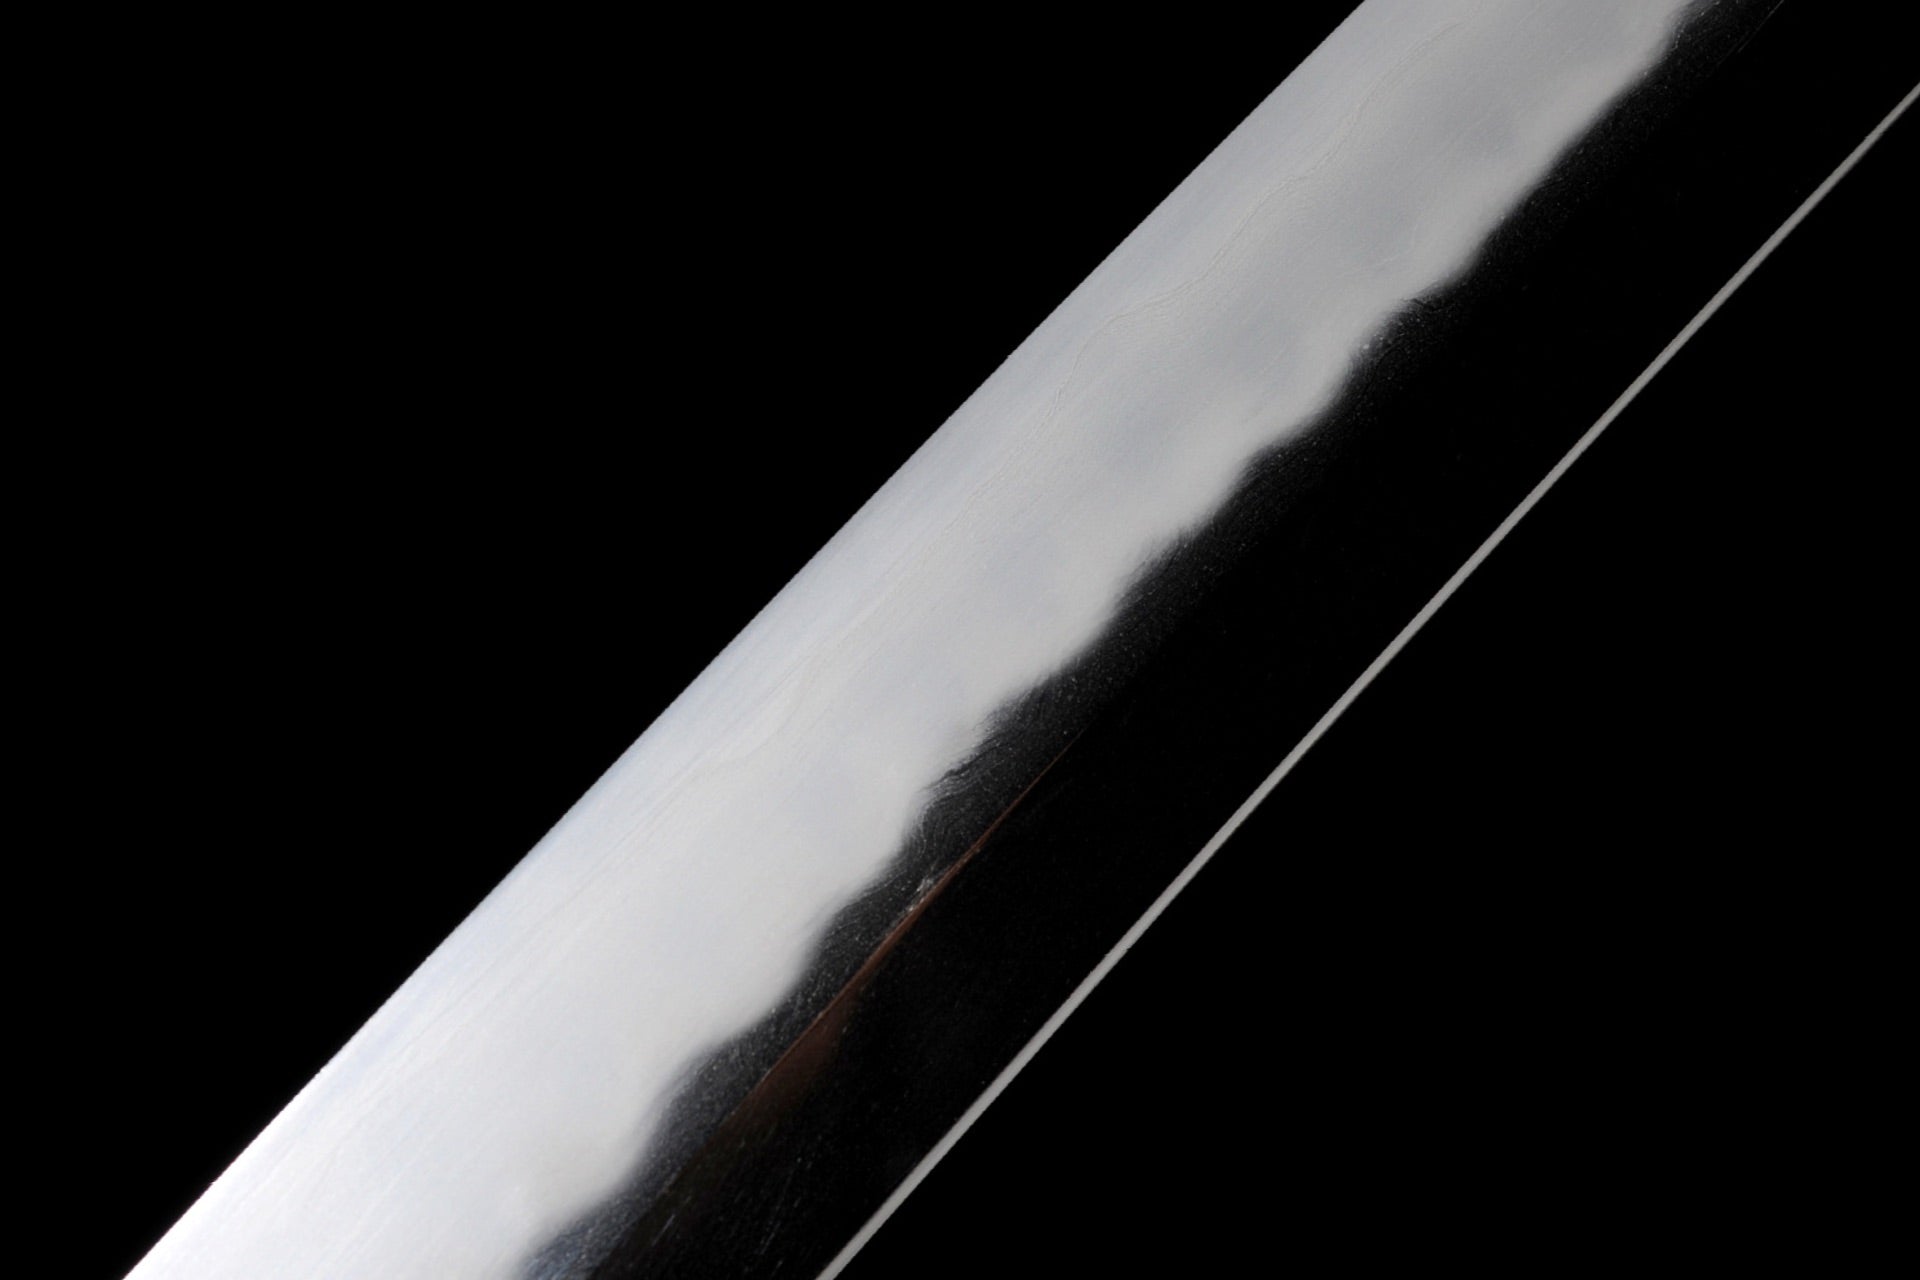
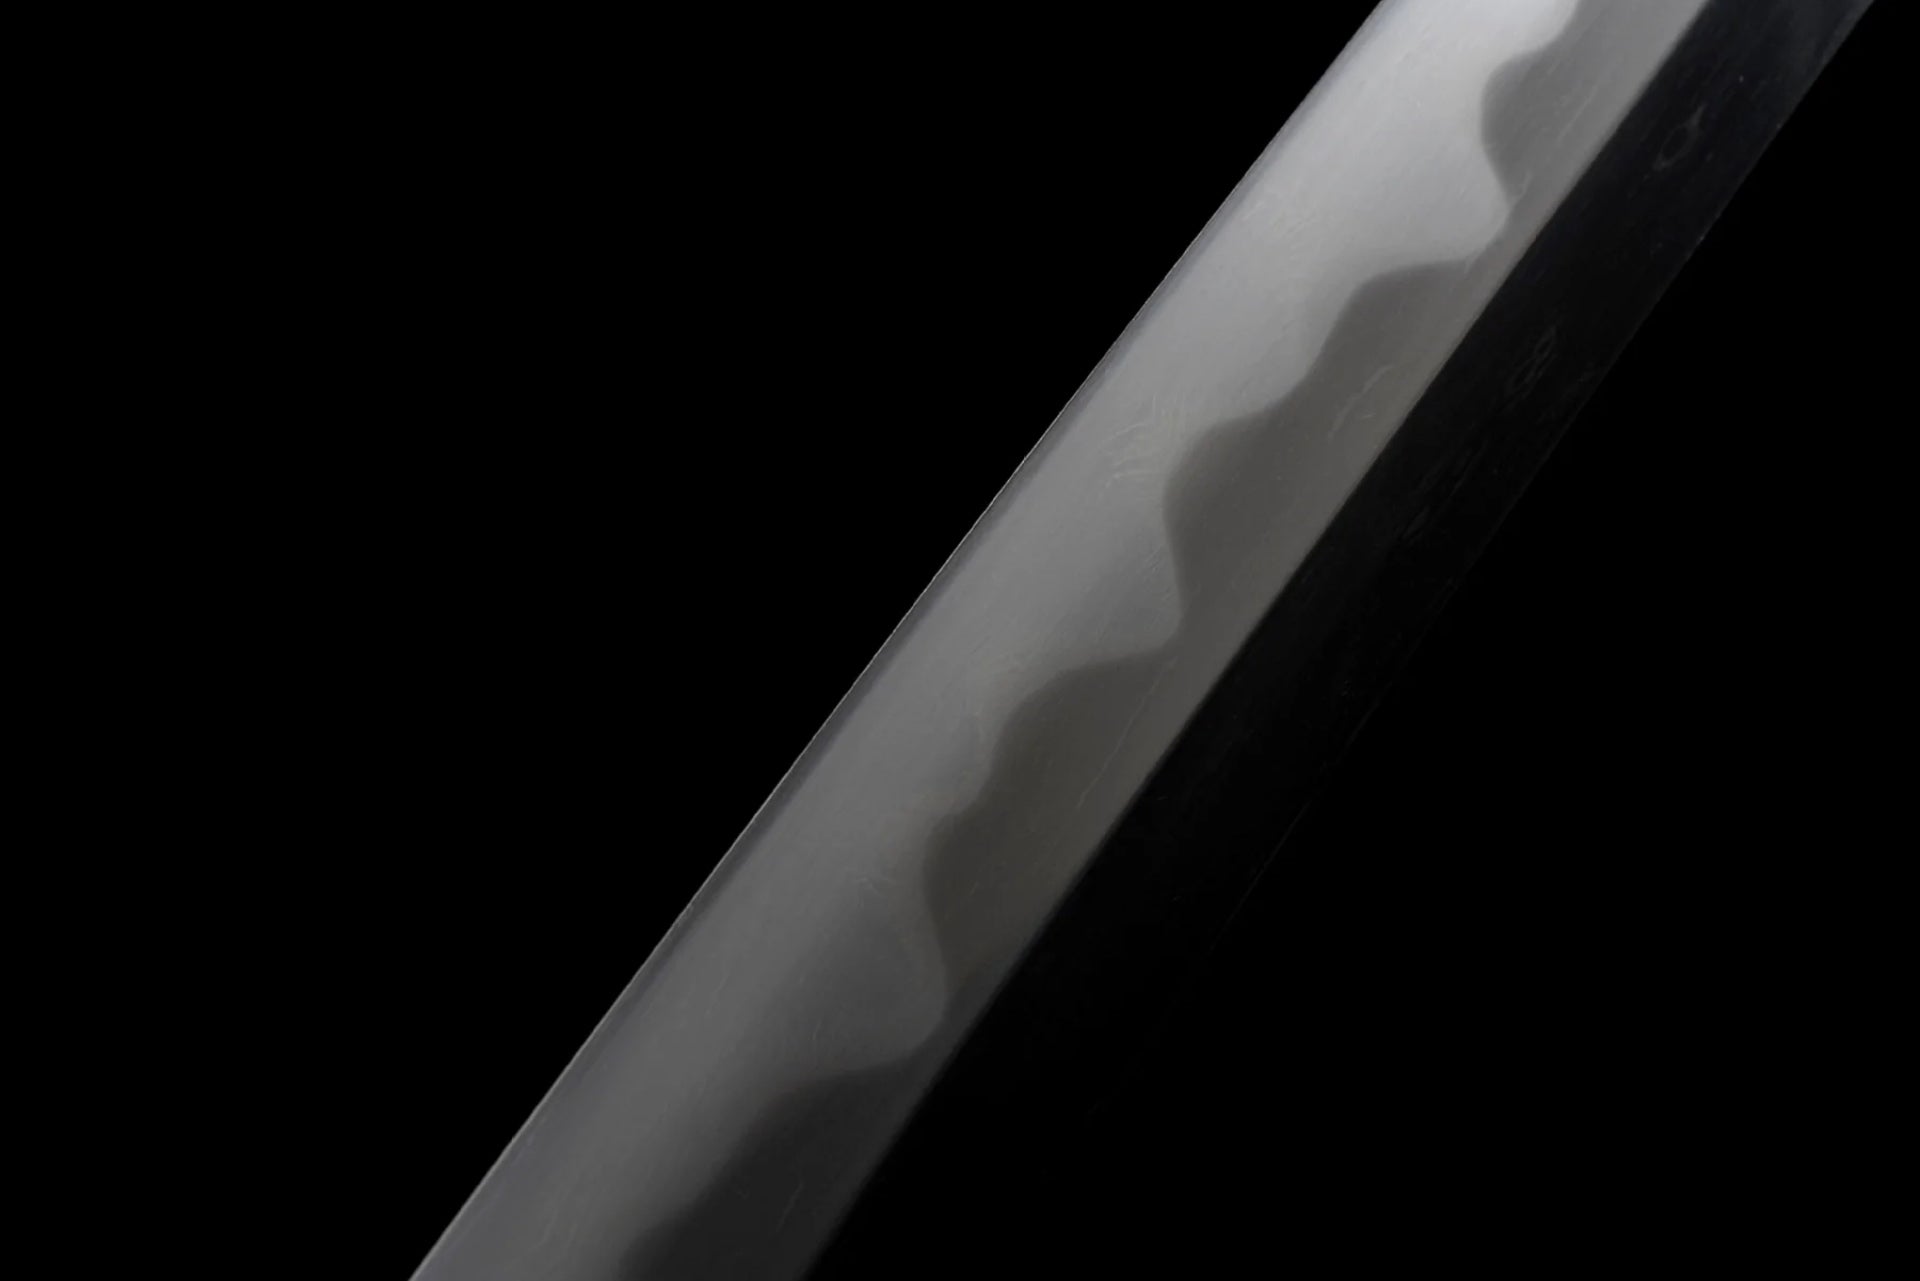
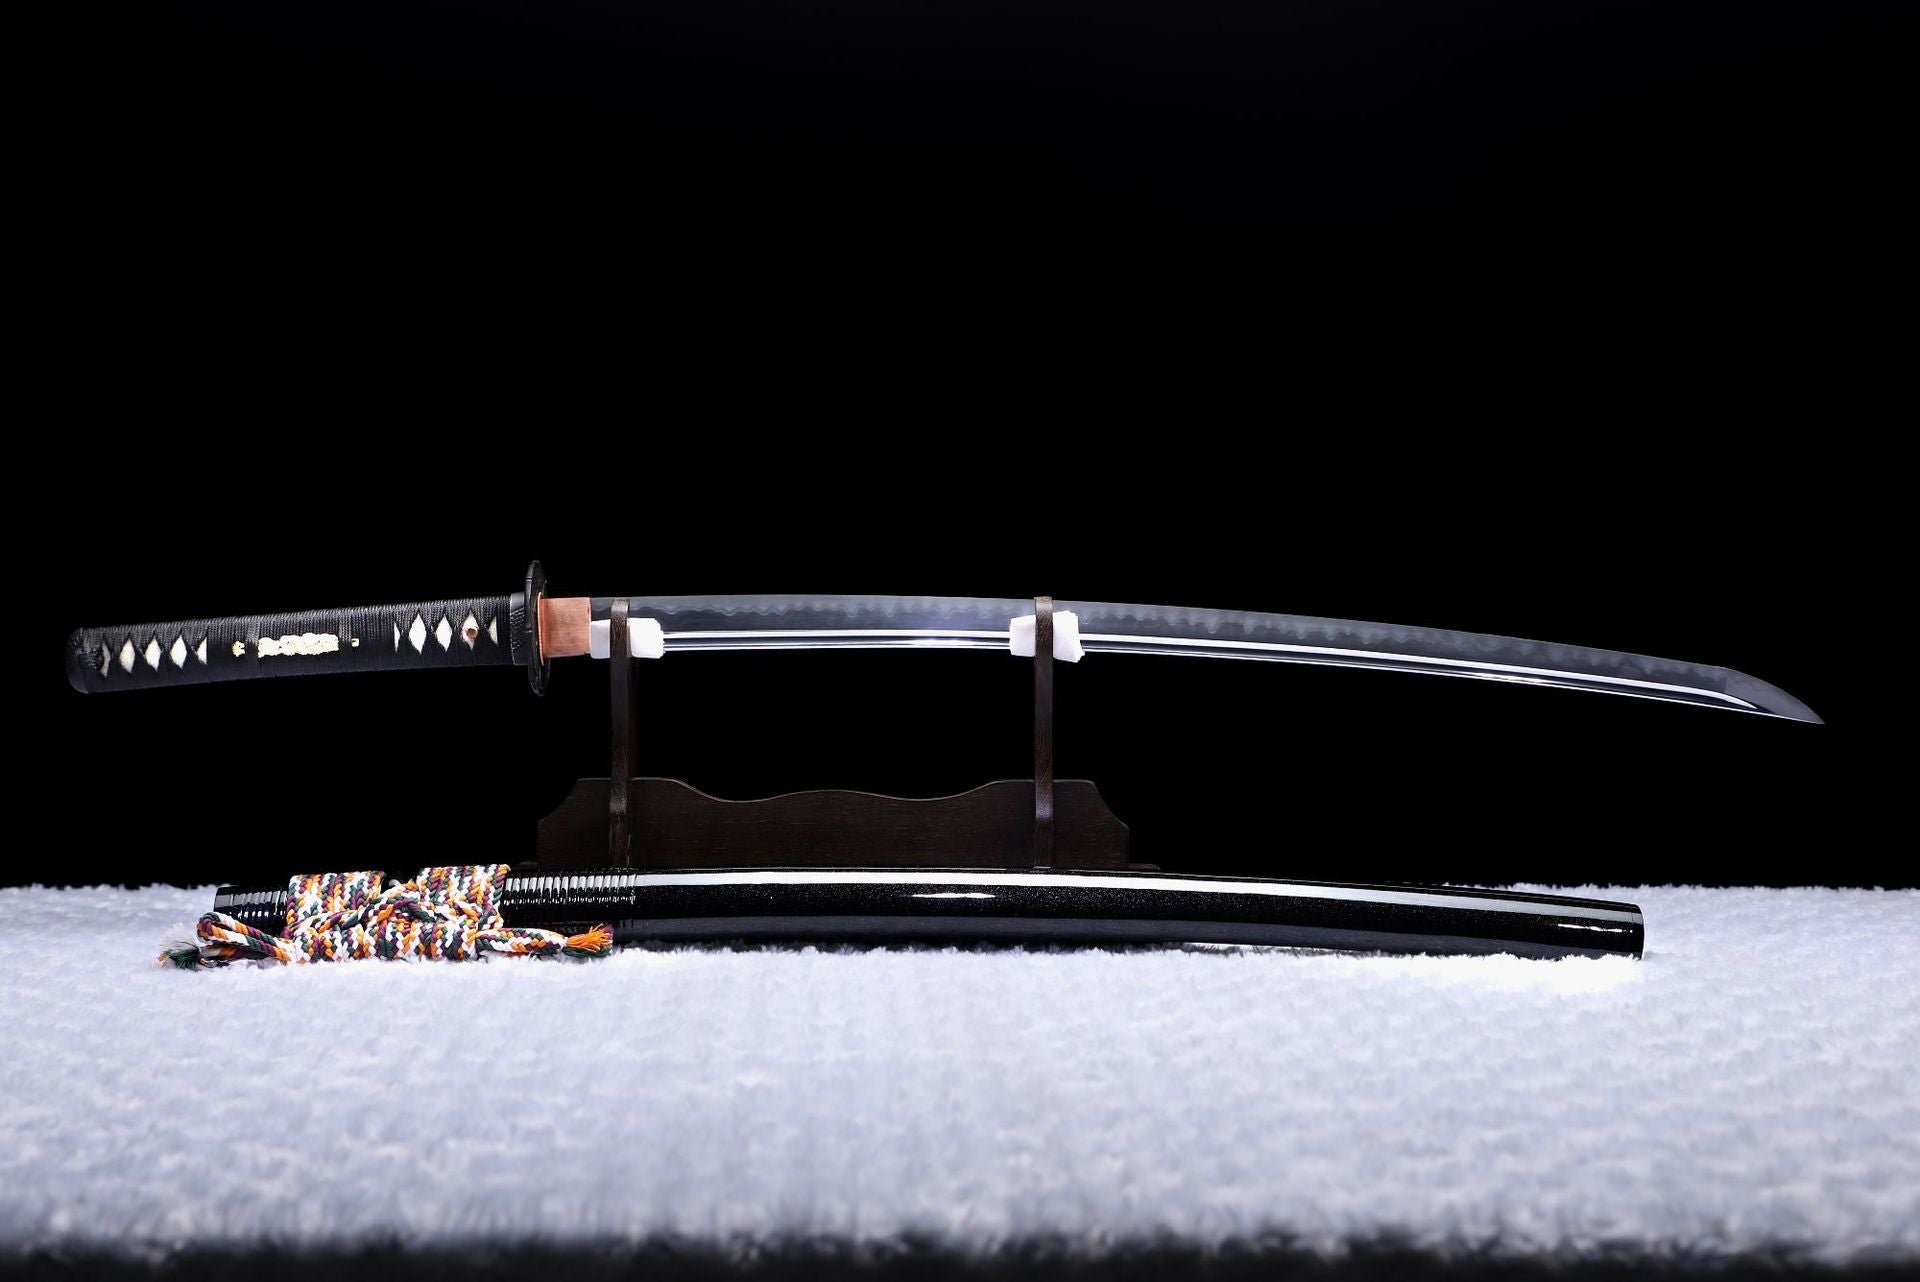
Take a moment to appreciate the blade. Look at the hamon (the temper line) and the hada (grain of the steel). Admire the smooth, curved blade. Your katana is a work of art, not just a tool.
Enjoy it for a minute. It’s okay to take your time here — this sword has history, craftsmanship, and soul. Each scratch, each curve tells a story.
Step seven: clean again before storing
Before you put it away, clean it once more. Yeah, again. This time you’re getting rid of fingerprints, air moisture, and tiny debris that might’ve landed during inspection.
By now, you should know how to clean a katana: wipe it clean, apply the uchiko powder one more time, and then wipe it off again.
Step eight: apply oil
This is an important part of the process. The oil will protect the blade from rust and damage.
Choji oil (clove oil) is the traditional choice for katana care. Some people also use camellia oil. Modern collectors sometimes use mineral oil. Even food-grade oil in a pinch. Point is: use something.
Place a few drops of oil on a soft cloth or tissue. Rub it lightly over the entire blade, from base to tip. Make sure you don’t overapply the oil. You just want a thin, even coat. Don’t overdo it.It should shine slightly, not drip. This oil will act as a protective barrier against moisture and dust.
Step nine: reassemble and store
If you removed the tsuka, now’s the time to reassemble the sword.
Place the nakago (tang) back into the tsuka. Make sure the habaki is properly aligned. Insert the mekugi back into place, reinsert the mekugi gently — don’t hammer it in, securing the blade inside the handle.
Carefully slide the blade back into its saya. Don’t force it. It should glide.
Finally, place the sword back into its cloth bag for safe storage. Keep it in a cool, dry place, away from heat, moisture, or anything that vibrates.
Done.
That’s it. You just cleaned a katana, or a wakizashi, or whatever japaness sword you’re lucky enough to own. Properly.
keep it dry. keep it oiled. handle with care. that sword’s been through a lot. and now? it gets to rest clean. If you take good care of it, your katana will outlive you. and maybe your kids too.
Now, put your sword back where it belongs. Treat it with respect, and it will last for generations.
Read more
wakizashi’s not just a short katana. You’ve probably heard of the katana—everyone has. Long, curved, legendary. But what about the other one? The smaller katana. The blade that never left a samurai...

Katana prices vary widely — an antique-grade katana can sell for tens of thousands of dollars, while a modern real katana made from steel might cost just a few hundred. That’s a price gap of more t...
Shop katana
Our katana store offers a wide selection of japanese swords — from traditional katanas and anime-inspired designs to fully functional blades — featuring a variety of materials and craftsmanship to suit your preferences.
Leave a comment
All comments are moderated before being published.
This site is protected by hCaptcha and the hCaptcha Privacy Policy and Terms of Service apply.