Clay Tempering of the Katana
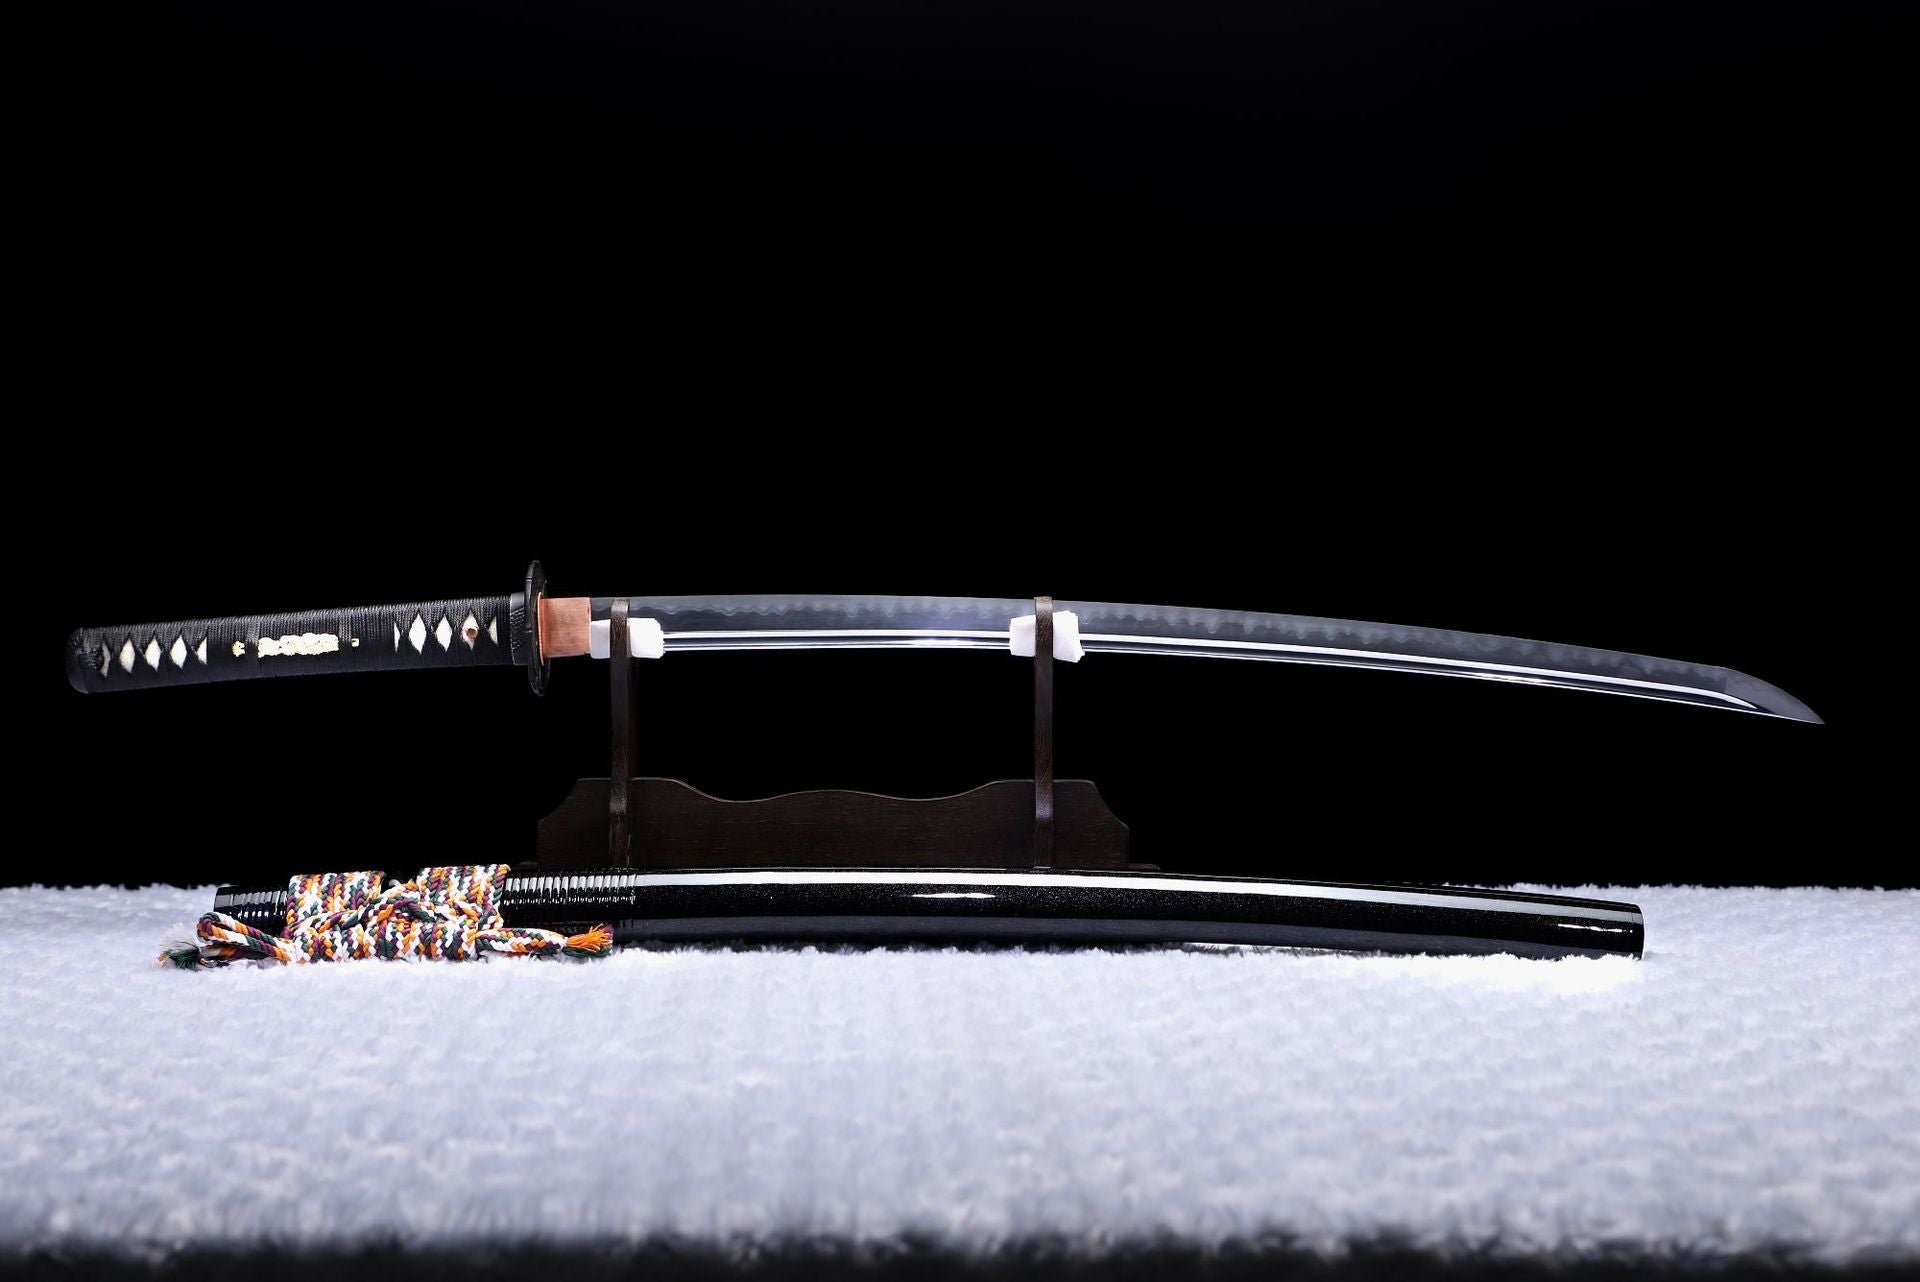
Clay tempering is a traditional technique used in making katanas, in which clay is applied to the blade before quenching. Its purpose is to give the katana both hardness and toughness, while also creating the distinctive hamon (temper line) on the edge.
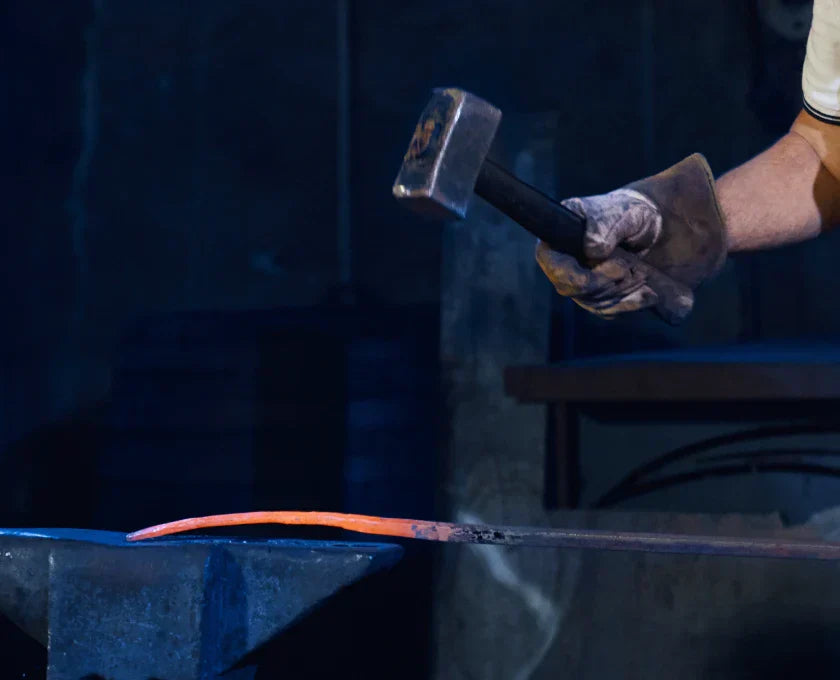
The clay tempering process can be divided into two steps. The first is coating with clay, where a special clay mixture is applied to the blade of the katana. The second is tempering, in which the clay-coated sword is heated until it glows red, then quenched in cold water.
Applying the Clay (Tsuchioki)
Once a samurai sword has been roughly forged into shape, it goes through a process called tsuchioki — the application of clay to the blade. This step is essential for creating the hamon, the distinctive temper line you see on Japanese swords.
The smith coats parts of the blade that need to remain tough with a special heat-resistant clay. This slows down the cooling in those areas during quenching. The entire blade, clay and all, is then heated to its critical temperature — around 750–850°C — and plunged into cold water. Because of the clay, some parts cool more slowly than the edge.
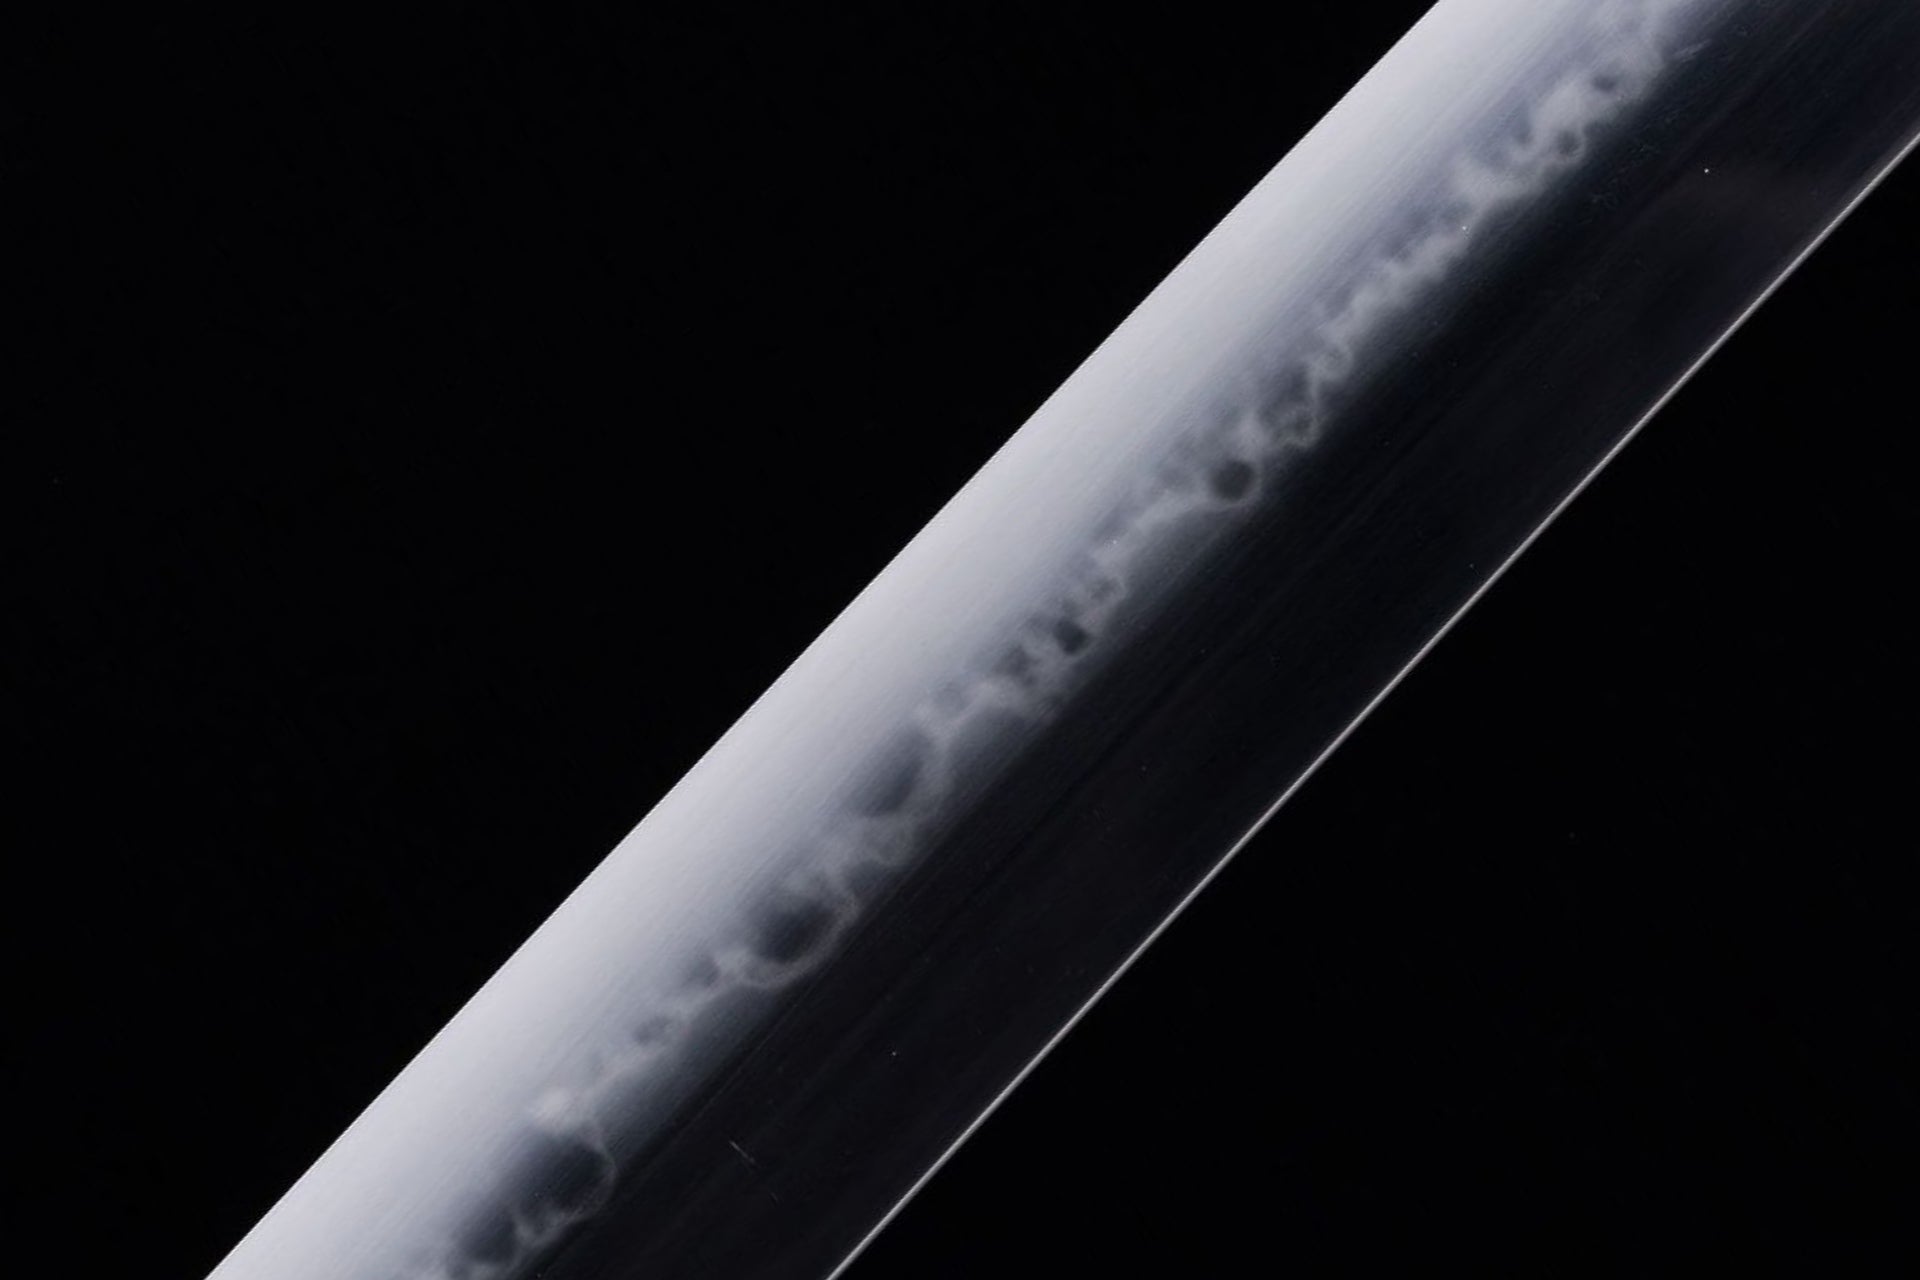
Right along the clay’s edge, the cooling speed is almost the same as the bare edge — perhaps only a fraction of a millisecond slower. The quickly cooled edge transforms into martensite (a very hard steel structure), while the slower-cooling body of the blade becomes pearlite and ferrite (tougher but softer structures). Once fully cooled, you get that signature Japanese sword hamon — a blade that’s both hard and resilient.
Experienced smiths use clay to “draw” the hamon’s shape, and different eras and schools of sword-making have their own distinctive styles.
The Skill Behind the Hamon
Making a beautiful and functional hamon is a real test of a swordsmith’s skill. It takes years of practice to get it right. Every smith has their own secret clay recipe, carefully applied with tried-and-true techniques.
The blade must be heated within a very precise range — traditionally judged by the color of the glowing steel rather than by instruments. Then, with no hesitation, it’s plunged into water for quenching. Every step has to be spot-on to create an attractive hamon and ensure the blade’s hardness and flexibility are distributed properly. One mistake, and the work is ruined.
Steel Composition Matters
The steel’s composition, especially its carbon content, is critical to forming a quality hamon. These factors directly affect how martensite forms during cooling.
From the moment the smith selects and forges the tamahagane (traditional Japanese steel), they’re mindful of its purity and carbon percentage. If the carbon content is below about 0.6–0.7%, the hamon may turn out too narrow or faint. If the steel contains impurities, it can disrupt martensite formation entirely.
Hamon Shapes and Their Purpose
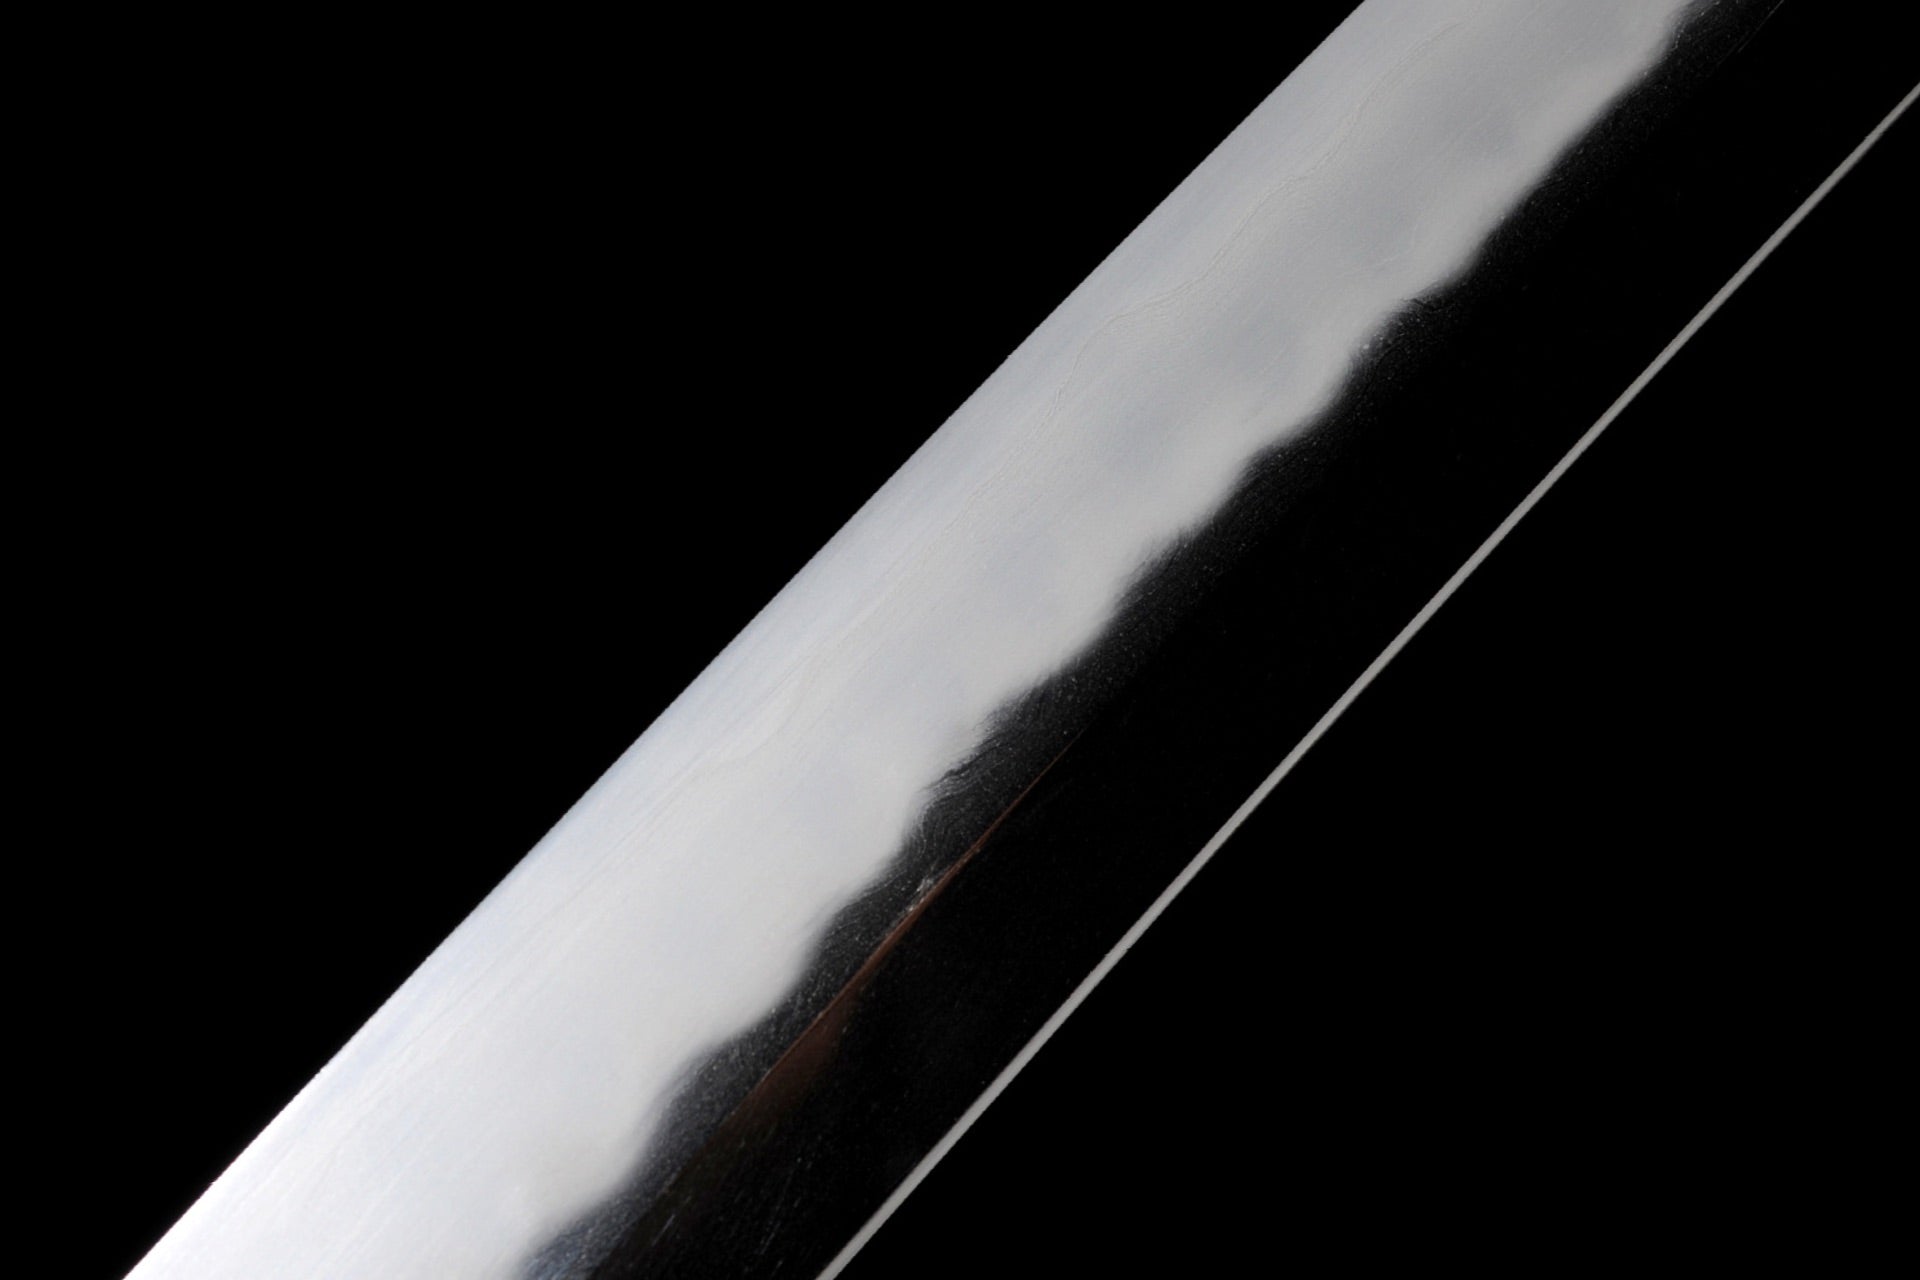
The shape of the hamon isn’t just decorative — it’s functional. Early Japanese swords had straight, narrow hamon lines, with a sharp boundary between the martensitic edge and the softer pearlite/ferrite body. In battle, this could lead to chips or even breaks when the edge took a hard blow.
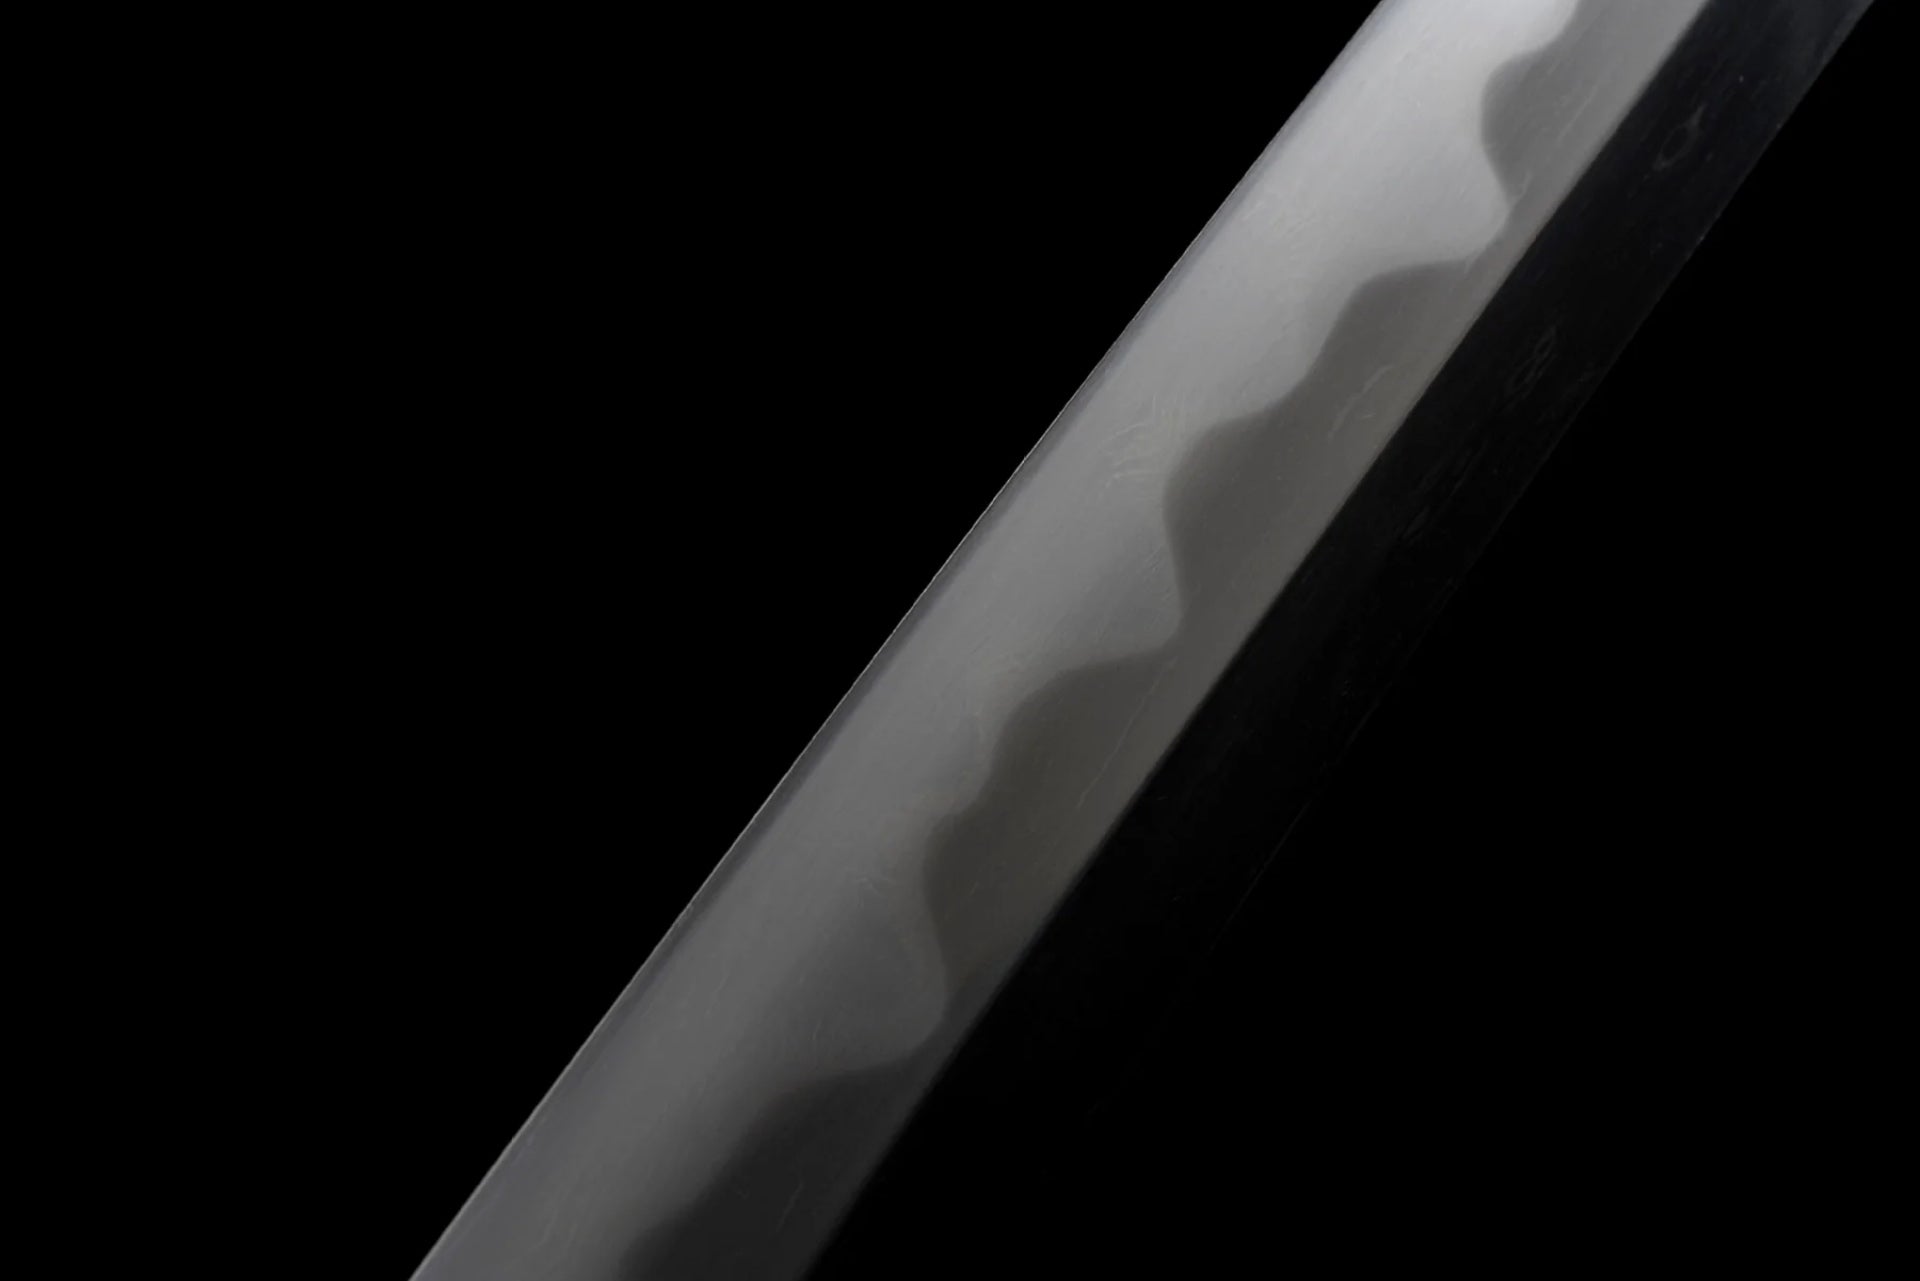
During the Heian period (794–1185), smiths began experimenting with more complex patterns — semicircles, waves, and other curves. These shapes not only looked more dynamic, but they also improved performance.
Many hamon designs feature “ashi” — streak-like lines of pearlite and ferrite extending into the hardened edge. These strengthen the bond between edge and body, making the blade more resistant to chipping. If the edge is damaged, the damage is often confined between two ashi, much like how watertight compartments limit flooding in a ship.
Making the Hamon
The process has three main steps:
- Black Clay Layer – The smith mixes clay with charcoal powder and polishing stone powder, then applies it in a thin, even layer along the cutting edge. This layer actually speeds up cooling during quenching, thanks to the fine stone powder increasing surface area. This ensures the edge transforms fully into martensite, boosting hardness.
- Ochre Clay Layer – A thicker, heat-insulating ochre-colored clay (made from clay, coarse polishing powder, charcoal powder, and iron oxide) is applied to the rest of the blade. The exact formula varies between smiths and traditions. The pattern of black and ochre clay will determine the hamon’s eventual shape.
- Adding Ashi – To make a more complex hamon, the smith uses the ochre clay to create narrow stripes along the edge. These spots cool more slowly, forming softer, more flexible steel within the hamon. This not only adds beauty but also improves the blade’s durability in combat.
The Quenching (Yaki-ire)
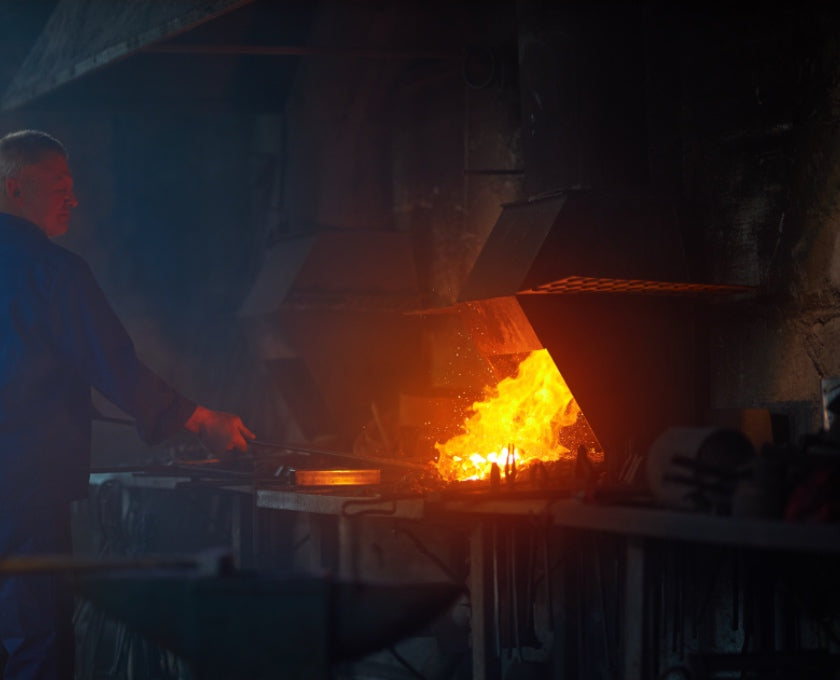
Once the clay is dry, it’s time for yaki-ire — heating and quenching. The blade is brought to its critical temperature, with its color shifting from dark red to bright yellow. Skilled smiths judge this by eye alone.
The process seems straightforward, but it’s full of risks. The heating must match the specific clay pattern and thickness. Too hot, and the hamon won’t appear as planned; too cool, and the steel won’t harden properly. The blade must be evenly heated, and only pure high-carbon steel with the right composition will survive the process intact.
How Yaki-ire is Done
Quenching is usually done after sunset, when the workshop is dark. This allows the smith to see the blade’s colors without interference. The blade is heated in the furnace edge-up at first, then rotated so the edge faces down to raise its temperature slightly. Ideally, the edge will be about 800°C while the spine is around 700–720°C.
Once the colors are perfect, the blade is plunged into cold water. The rapid cooling locks in the martensitic edge and creates the hamon exactly where the clay dictated.
Tempering (Yaki-modoshi)
After quenching, the blade is inspected. If the clay has stayed on and no damage has occurred, the blade goes through yaki-modoshi — tempering. It’s reheated to around 170–180°C and quenched again. This step slightly softens the brittle edge, making the sword tougher and more reliable for real use.
The Risks of Quenching
Yaki-ire is essential for making a true samurai sword, but it’s also the most dangerous stage for the blade. Different cooling speeds in different parts of the blade can cause warping. The extreme temperature change can also create cracks or even break the blade outright if any earlier forging flaws exist.
If the quench doesn’t go as planned but the blade survives, it can be reheated and cooled naturally to erase the hamon, then the whole clay-tempering process can be repeated. A well-forged blade can withstand several attempts, and even old, worn swords can be given a brand-new hamon through re-quenching.
Read more

Jihada – The Skin of the Katana Steel When we talk about the beauty of a Japanese sword, it’s not just the elegant shape that’s been passed down through history. There’s also something called “jiga...
How Folding and Forging Actually Works — The Art of Shita-Kitae and Age-Kitae So, let’s say you’ve got a chunk of tamahagane, the traditional Japanese steel used to make a katana. Congrats — now th...
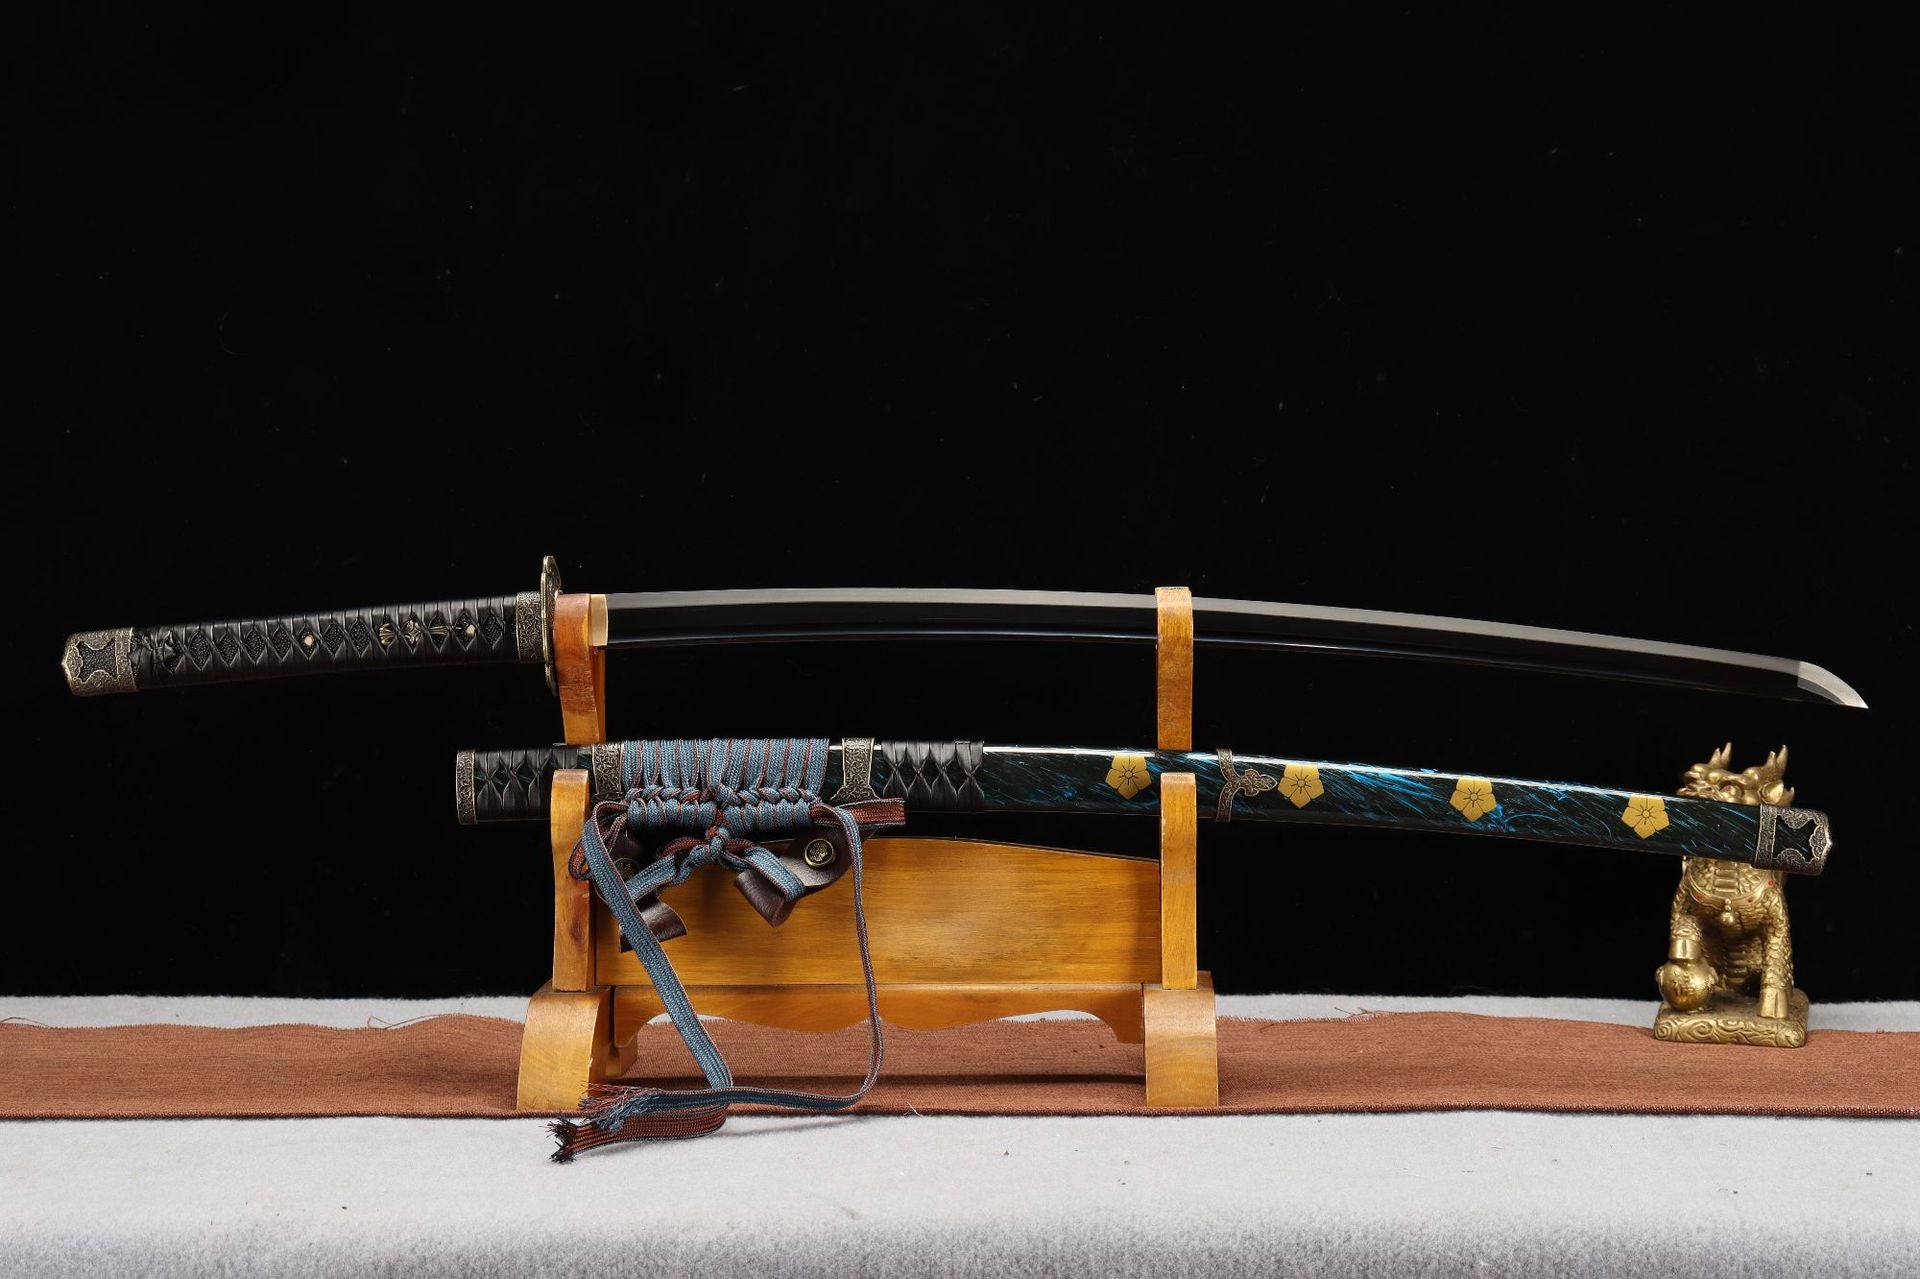
Shop katana
Our katana store offers a wide selection of japanese swords — from traditional katanas and anime-inspired designs to fully functional blades — featuring a variety of materials and craftsmanship to suit your preferences.
Leave a comment
All comments are moderated before being published.
This site is protected by hCaptcha and the hCaptcha Privacy Policy and Terms of Service apply.